



Product Design Sheet for UCEED: Layout, Views and Drawing Tips
 Mishika Gupta5 Nov, 2026

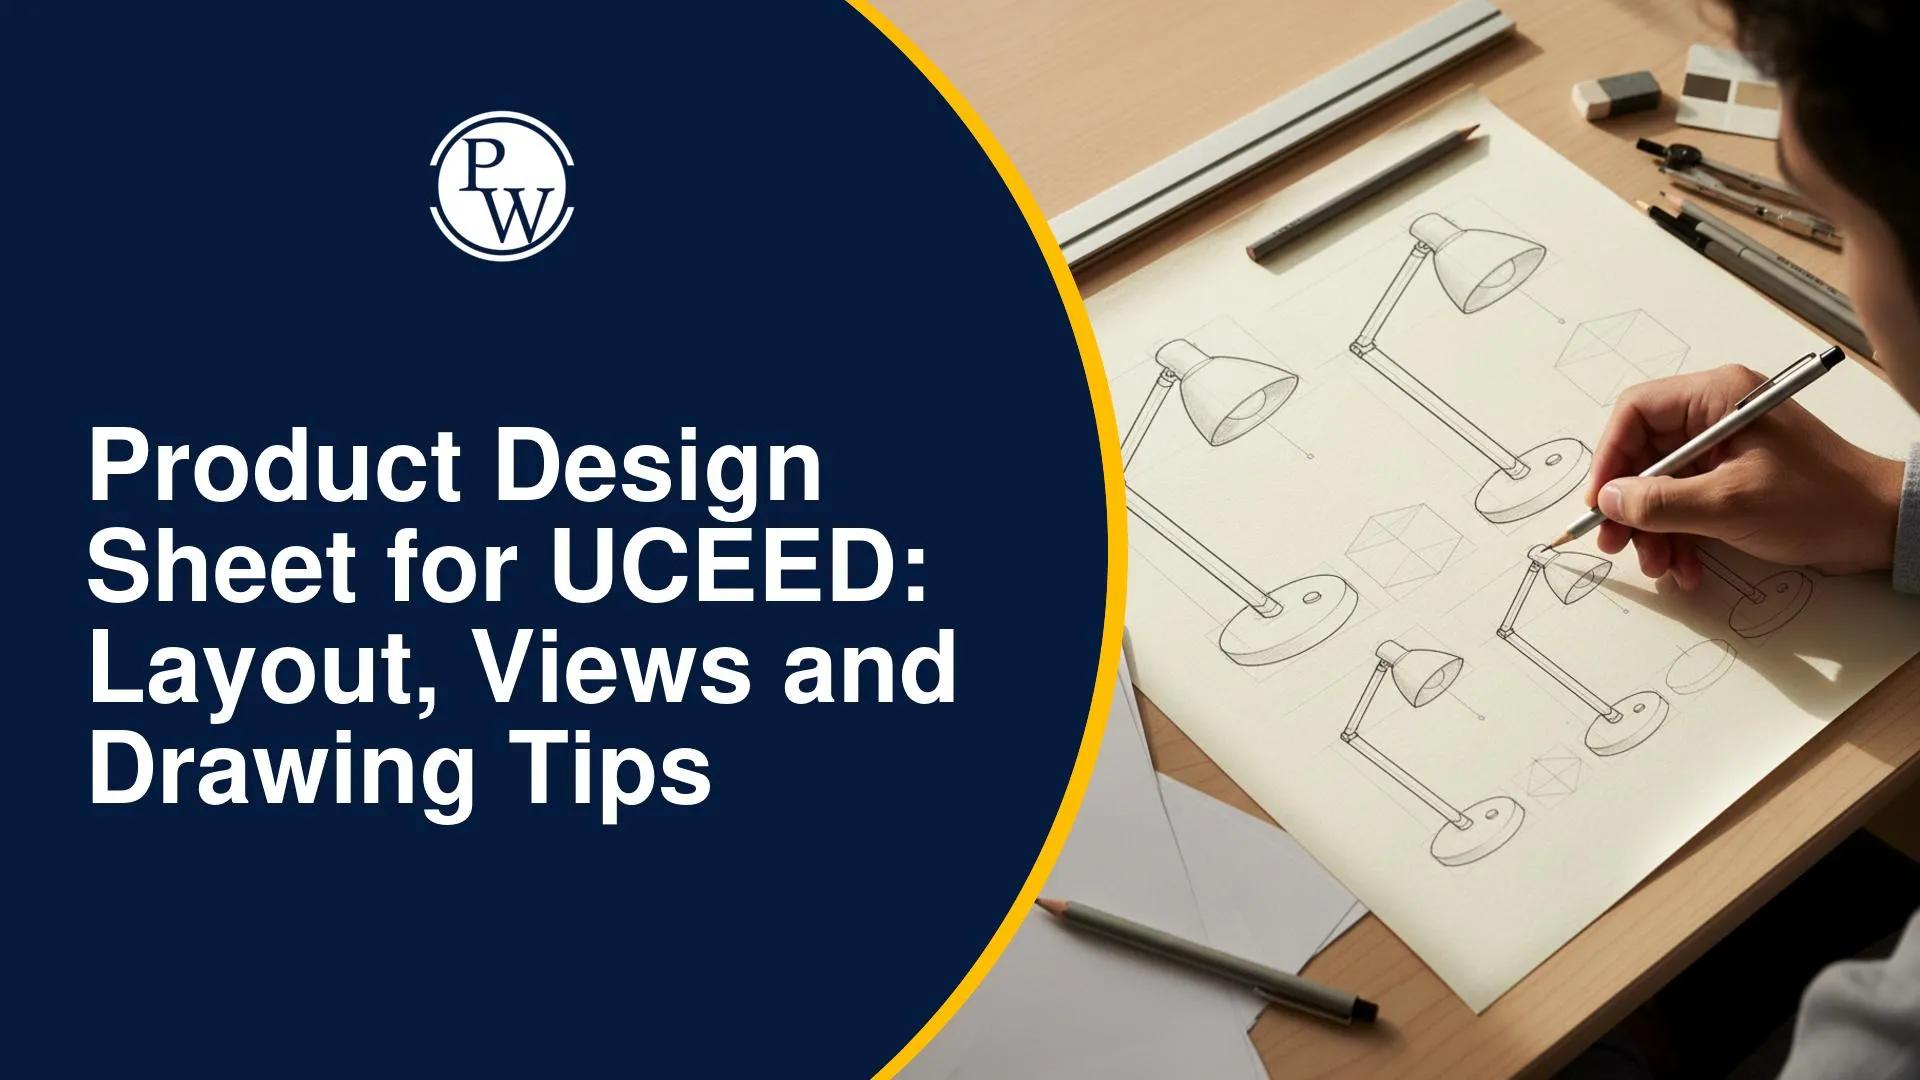
Creating a product design concept is only one part of a UCEED drawing task. You also need to present your idea clearly on the sheet, select the right views and explain how the product works. Deciding which sketch should be the largest, how many supporting views to include and where to place annotations can be challenging. A crowded or incomplete presentation may make it difficult to understand your concept.
A well-planned Product Design Sheet for UCEED communicates the product's appearance, features and functionality through clear sketches. You need to identify the user's requirements, draw a prominent main view and add relevant supporting details. The following steps explain how to plan your sheet, use different product design views and present your concept effectively.
What is a Product Design Sheet for UCEED?
A Product Design Sheet for UCEED is a visual presentation of a product concept through sketches, different views, annotations and functional details. It helps communicate what the product looks like, who will use it and how it addresses a particular problem.
A good product design sheet should explain more than the product's appearance. It should communicate the following aspects:
-
Form: The overall shape, size and three-dimensional appearance of the product.
-
Functionality: How the product operates and fulfils its intended purpose.
-
User requirements: How its features address the needs of the intended user.
-
Product details: Important components, mechanisms, materials or special features.
-
Presentation: How the main sketch, supporting views and annotations work together to explain the concept.
The purpose is not to fill the sheet with as many drawings as possible. Each sketch should contribute to explaining the product.
Steps to Create a Product Design Sheet for UCEED
Follow these steps to turn your product idea into a clear and well-presented design sheet.
1. Analyse the Question and Identify the User's Needs
Read the question carefully before starting your sketch. Identify the problem that the product needs to solve, its intended user and any compulsory features mentioned in the question.
For example, if you need to design an easy-to-use water bottle for senior citizens, consider the following requirements:
-
Comfortable grip for easy handling.
-
Lightweight body that is convenient to carry.
-
Simple opening and closing mechanism.
-
Leak-proof lid.
-
Easy-to-use design that does not require excessive effort.
Your concept should address these requirements rather than focus only on creating an attractive shape. A product design becomes more meaningful when its features solve the user's actual problem.
2. Draw the Main Product View
The main product view is the most prominent part of your sheet. It should give the examiner an immediate understanding of your concept.
Draw a large, clear and detailed sketch that communicates the product's overall form. Use a three-dimensional representation wherever appropriate to show its shape, volume and important features.
For example, while designing a water bottle, make sure the main sketch clearly shows:
-
The bottle's overall body and shape.
-
The grip and its placement.
-
The cap and opening mechanism.
-
Any distinctive design features.
Keep the main view large enough to be understood easily, but do not let it occupy the entire sheet. You also need space for supporting views, feature details and annotations.
3. Add Relevant Supporting Views
Supporting views help explain parts of the product that may not be visible in the main sketch. You can include front, side, top, back or open-state views, depending on the design requirements.
There is no fixed number of views that applies to every product design question. Select views that add useful information.
For example, if you are designing a foldable study lamp, the supporting sketches may include:
-
Side view: Shows the lamp's height, depth and overall profile.
-
Top view: Explains the arrangement of the lamp's upper components.
-
Folded view: Shows how the lamp looks when stored.
-
Unfolded view: Explains how it appears when ready for use.
-
Detail view: Highlights the folding mechanism or an important joint.
If a particular mechanism is difficult to understand, add an enlarged sketch to explain it. Avoid including extra views simply to occupy empty space.
4. Explain Product Features and Functionality
A product sketch should make its important features and functions easy to understand. Use short labels, leader lines and small explanatory sketches to highlight details that may not be immediately visible. For example, a senior-citizen-friendly water bottle may include:
|
Product Feature |
What to Explain |
|
Anti-slip grip |
Helps users hold the bottle comfortably |
|
Leak-proof lid |
Prevents water from spilling |
|
Easy-open cap |
Makes opening and closing convenient |
|
Lightweight body |
Makes the bottle easier to carry |
Place labels close to the relevant features and ensure that leader lines point to the correct components. If a feature involves a special mechanism, use a small detail sketch to explain how it works.
5. Show Product Usage and Human Interaction
Some product concepts become easier to understand when you show how the intended user interacts with them. A small usage sketch can demonstrate how someone holds, opens, carries or operates the product.
For example, a lunchbox designed for a six-year-old child who prefers Indian meals may need multiple compartments, a leak-proof lid and a way to keep food warm. You can use the following views to explain its design:
-
Main view: Shows the overall lunchbox design.
-
Inner view: Displays the separate compartments for different food items.
-
Exploded view: Explains the individual layers or components used to retain warmth.
-
Detail view: Highlights the lid and leak-proof mechanism.
A small human-use illustration may also help explain the lunchbox's size and ease of handling. However, human figures are not compulsory for every product. Include them only when they clarify the product's scale, ergonomics or usability.
6. Plan the Sheet Layout and Composition
Once you have identified the required sketches, plan how to arrange them on the sheet. A clear visual hierarchy helps the examiner understand the main concept before moving to the supporting details.
Use the following layout principles:
-
Main view: Place the largest and most prominent product sketch near the centre or in another visually dominant position.
-
Supporting views: Arrange front, side, top, inner or other relevant views around the main sketch.
-
Detail sketches: Keep enlarged mechanism and feature illustrations near the components they explain.
-
Annotations: Use readable labels and leader lines without overlapping other sketches.
-
Title: Add a short product title near the top of the sheet.
-
Spacing: Leave enough space between sketches to keep the presentation clear.
Before starting the final drawing, spend 20–30 seconds making a rough layout plan. This helps you allocate space to the main view and supporting sketches instead of discovering at the end that there is no room left for important details.
How to Choose the Right Product Design Views
Different product design views communicate different aspects of a concept. Choose them according to the product's shape, components and functionality.
|
Product Design View |
Purpose |
|
Front View |
Shows the product's front-facing shape, proportions and visible features. |
|
Side View |
Explains its depth, thickness and side profile. |
|
Top View |
Displays the arrangement of components or features on the upper surface. |
|
Back View |
Shows rear components, openings or design details. |
|
Isometric View |
Represents the product in three dimensions, showing multiple sides in one sketch. |
|
Perspective View |
Communicates the product's appearance in a more realistic spatial representation. |
|
Exploded View |
Separates components visually to explain their arrangement and assembly. |
|
Detail View |
Enlarges a particular feature or mechanism that needs further explanation. |
|
User View |
Shows how a person holds, operates or interacts with the product. |
Isometric and perspective drawings serve different purposes. An isometric view helps show the product's three-dimensional form with its main dimensions and sides visible. A perspective view gives a more realistic impression of depth, with parallel lines appearing to converge towards vanishing points.
Common Mistakes to Avoid in a UCEED Product Design Sheet
Even a good product concept can become difficult to understand if the sheet has unclear sketches, unnecessary views or a cluttered layout. Avoiding these common mistakes can help you present your design more clearly and effectively.
Avoid these mistakes while preparing your product design sheet:
-
Drawing without analysing the question: Starting immediately without identifying the user and problem can result in a concept that misses important requirements.
-
Making the main view too large: An oversized sketch can leave insufficient space for supporting views and annotations.
-
Adding unnecessary views: Every sketch should explain a feature, component or function. Avoid repeating the same information.
-
Showing features without explaining them: A visual detail may not communicate its purpose clearly without a short label or explanatory sketch.
-
Overcrowding the sheet: Overlapping sketches, unclear labels and insufficient spacing can make the presentation difficult to read.
-
Adding irrelevant human figures: Include a user illustration only when it helps explain scale, ergonomics or product interaction.
-
Missing question requirements: Check that your final concept addresses all the specific features and conditions mentioned in the question.
Final Checklist for a Product Design Sheet
Before submitting your product design sheet, review the sketches, supporting views and annotations to ensure that your concept is clearly presented. Use the following checklist to verify the essential elements.
Before completing your sheet, review these five essential points:
-
Main product view: Is the primary sketch clear, detailed and easy to identify?
-
Functionality: Can the examiner understand how the product works?
-
Supporting views: Have you included the views needed to explain its shape and components?
-
Features and mechanisms: Are the important details explained through labels or sketches?
-
Sheet presentation: Is the layout clean, balanced and easy to understand?
Also, make sure you have addressed every specific requirement in the question. A visually appealing sheet cannot compensate for a concept that misses the given instructions.
How to Prepare for UCEED Product Design Questions
Consistent practice can help you improve your ability to interpret product design problems and communicate ideas through sketches. Include the following activities in your UCEED drawing preparation:
-
Practise user-based design problems: Select everyday products and think about how their design can address the needs of different users.
-
Draw products from multiple angles: Practise front, side, top, isometric and perspective views to understand how forms change across different representations.
-
Work on product functionality: Sketch opening mechanisms, movable parts, compartments and other features that explain how a product operates.
-
Solve previous year questions: Attempt product-related questions and practise presenting your ideas within a time limit.
-
Review important design topics: Include drawing and visualisation skills while revising the important topics for the UCEED exam.
-
Practise with a time limit: Set aside time for question analysis, ideation, rough layout planning and the final sheet.
Your preparation should also account for the examination requirements and schedule. Keeping the UCEED Exam 2027 details in mind can help you plan your revision alongside regular drawing practice. A consistent UCEED preparation plan can further help you balance sketching, visualisation and other examination topics.
A good Product Design Sheet for UCEED communicates the product's purpose, appearance and functionality through relevant sketches and clear annotations. Analyse the question before drawing, give the main view enough prominence and select supporting views according to the concept. Regular practice with different product design problems can help you improve your presentation and drawing skills.
Product Design Sheet for UCEED FAQs
How much time should you spend planning a product design sheet?
How can you generate product design ideas during UCEED preparation?
What role does ergonomics play in product design for UCEED?
How do you show the working mechanism of a product in a drawing?
Should you include colours in a UCEED product design sheet?


Have questions about your prep?
Our experts can answer all your questions











 Live & recorded classes available at easeDashboard for progress trackingMillions of practice questions at your fingertips