Basic Geometrical Ideas Class 6 – Definitions, Examples and Questions

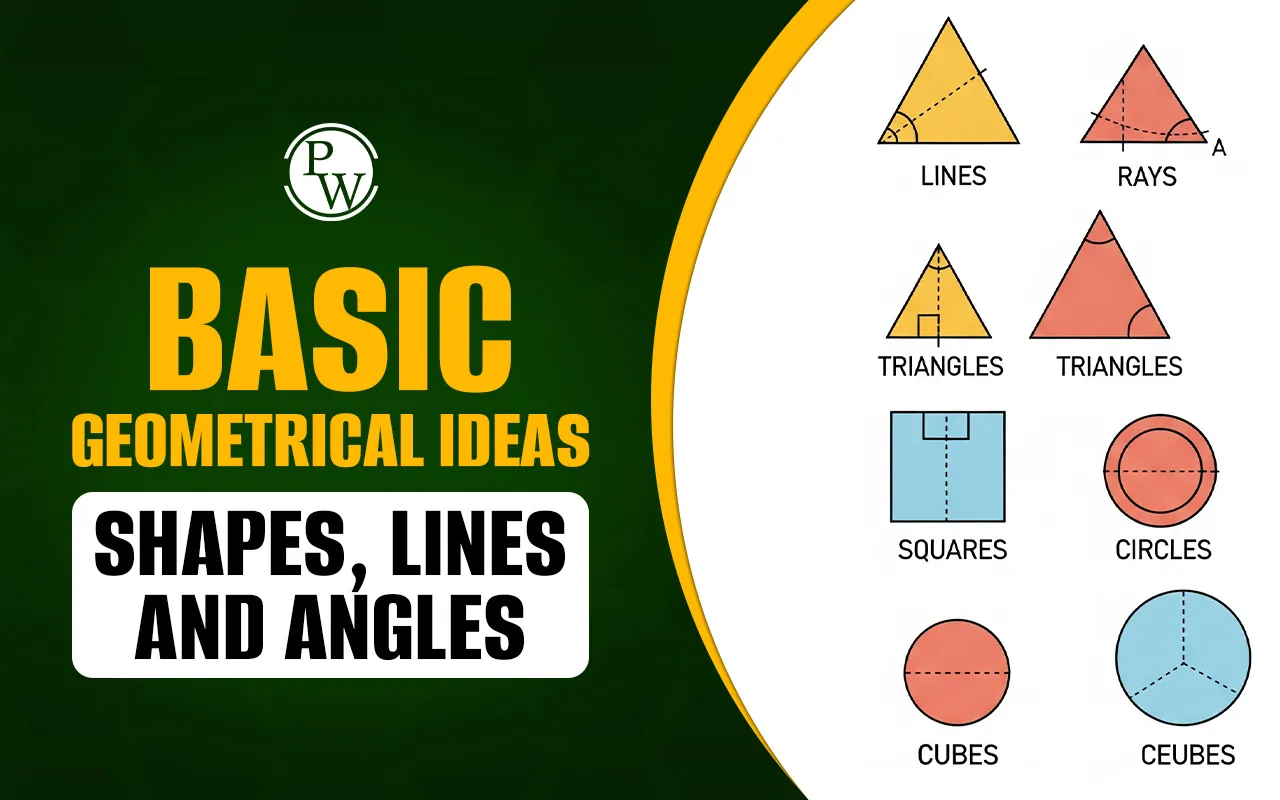
Basic geometrical ideas Class 6 notes cover all the important concepts introduced in Chapter 4 of the CBSE Maths syllabus. The chapter begins by helping students explore the basics of geometry through topics like points, lines, line segments, and rays.
It then moves on to angles, curves, and various types of shapes, showing how these ideas appear in both drawings and real-life objects. Let’s learn the important concepts covered in the chapter in brief here.
Read More: Geometry
What are Basic Geometrical Ideas in Class 6?
The Class 6 basic geometrical idea is a set of simple concepts that help us understand and describe different shapes and figures. These include things like points, lines, angles, triangles, circles, and other shapes we see everyday.
We start learning geometry by understanding these basic ideas. Once we know them, it becomes easier to draw shapes, measure lengths and angles, and create more complex figures. These concepts are also useful in real life. They help us solve problems such as measuring land, drawing maps, designing buildings, and even creating art and patterns.
Topics Covered in Class 6 Basic Geometrical Ideas Chapter 4
Here, we will learn all the important topics covered in Class 6 Basic Geometrical Ideas Chapter 4, with examples to help understand each concept step by step.
What is Point?
A point shows an exact position or location in space but does not have any shape, size, length, width, or depth. In simple words, a point is just a mark or dot that helps us know where something is. We usually represent a point by placing a small dot and naming it with a capital letter such as A, B, or C.
Real-life examples of a point include
-
The tip of a sharp pencil
-
A small dot made by a pen on paper
-
A pin or mark showing a city on a map

What is Line?
A line is a straight path that continues forever in both directions. It is made up of an endless number of points placed next to each other. A line has only length, without any width or thickness, and it has no beginning or end. Since it stretches infinitely, its total length cannot be measured.
Types of Lines
Lines are used to draw shapes, mark directions, and describe positions. You can see lines in roads, books, paper, and many other objects around you. Based on how they appear and behave, lines are divided into different types. Let’s learn about each one.
What is a Line Segment?
A line segment is a part of a line that has two fixed endpoints. This means it begins at one point and ends at another. Unlike a full line, a line segment has a specific length and can be measured using a ruler. You can see line segments in the sides of a triangle, the edge of a desk, or the border of a picture frame.
What is a Ray?
A ray is a part of a line that starts from one point and continues endlessly in one direction. It has only one endpoint and keeps going on the other side without stopping. Because it does not have an end in one direction, it cannot be measured. Rays are commonly seen in nature, such as a ray of sunlight coming from the sun or the beam of a flashlight in a dark room.
Parallel Lines
Parallel lines are two or more lines that lie on the same flat surface and never meet, no matter how far they are extended. They always remain the same distance apart from each other. You can find examples of parallel lines in railway tracks, the sides of a ruler, or the edges of lined notebook paper. Parallel lines are very important in making designs, buildings, and road plans.
Intersecting Lines
Intersecting lines are lines that cross each other at one point. The point where they meet is called the point of intersection. Intersecting lines can cross at any angle, and the angles they form can be acute, obtuse, or right angles. Real-life examples include road junctions, the blades of an open scissor, or the letter X.
Perpendicular Lines
Perpendicular lines are a special type of intersecting lines. When two lines meet and form a right angle of ninety degrees, they are called perpendicular. You can see these lines in the corners of books, walls, tables, and in the plus symbol.

Understanding Angles in Geometry
An angle is a figure formed when two rays start from the same point and move away in different directions. The amount of turning between these two rays is what we call an angle. In simple words, it tells us how much one arm turns from the other around a common point.
Angles are not just found in books or drawings. We see them every day in real life. For example, when you slightly open a book, the space between the cover and the pages forms an angle. When a door is opened halfway or wide open, it also creates different angles. The hands of a clock form angles at every hour. Even the corners of a room or a picture frame are angles.
Read More: Adjacent Angles
Parts of an Angle
To understand angles better, it is helpful to know their three main parts. Each part has its own name and role in forming and measuring an angle.
-
Vertex: The vertex is the point where the two rays meet to form the angle. It is the corner or turning point of the angle. All angles have exactly one vertex, and this is the point we focus on when naming or measuring the angle.
-
Arms: The arms are the two rays that start from the vertex and stretch out in different directions. These rays are the sides of the angle. The amount of space or opening between the two arms decides how big or small the angle is. If the arms are close to each other, the angle is small. If the arms are spread far apart, the angle is large.
-
Angle: The angle itself is the space or turning between the two arms. This is what we measure in degrees using a tool called a protractor. The size of the angle tells us how much one ray turns away from the other.
We name an angle using three capital letters. The letter in the middle always stands for the vertex, and the letters on each side represent the points on the arms.
For example, if ray BA and ray BC start from point B, then the angle formed can be written as angle ABC or angle CBA. In both cases, B is the vertex and must always be written in the middle.

Shapes in Basic Geometrical Ideas
Shapes are figures formed using points, lines, curves, or a combination of these. We see shapes all around us i.e. in doors, clocks, books, road signs, and even nature.
By learning about shapes, we begin to understand how figures are built and how we can measure them in terms of length, sides, angles, and boundaries.
Types of Shapes in Geometry
There are many types of shapes, but in geometry we study three main groups: polygons, circles, and curves. Each of these has different properties based on sides, corners, and the way the shape is formed. Let’s learn each type of shapes in brief:
Polygons
A polygon is a flat closed figure made using only straight lines. These straight lines are joined end to end to form a complete shape. The lines are called sides, and the points where they meet are called vertices.
All polygons must have at least three sides. The inside space of the shape is called the interior, and the outer part is the boundary made by the sides. Some common examples of polygons are the triangle, quadrilateral, pentagon, and hexagon.
Circles
A circle is a round closed figure where all points on the edge are the same distance from a central point. Unlike polygons, a circle does not have any sides or corners. It is made up of a curved line, and it does not have angles. The
Key parts of a circle include:
-
Center: The fixed point in the middle of the circle from which all points on the circle are equally distant.
-
Radius: The distance from the center to any point on the circle. It helps define the size of the circle.
-
Diameter: A straight line that passes through the center and connects two points on the circle. It is always twice the length of the radius.
-
Chord: A line that joins any two points on the circle but does not pass through the center.
-
Arc: A part of the circle’s curved boundary between two points.
-
Sector: The area enclosed by two radii and the arc connecting them. It looks like a slice of pizza.
-
Segment: The area enclosed between a chord and the arc above it.
Circles are observed in wheels, clocks, coins, and plates. They are very important in measuring round objects and drawing curves.

Curves
A curve is a line that is not straight. It can bend in any direction and may be open or closed.
A curve that starts and ends at the same point is called a closed curve. A curve that does not return to the starting point is called an open curve.If a curve does not cross over itself, it is called a simple curve.
A circle is an example of a simple closed curve. Curves are used in drawing, sketching, and decoration. They are useful when we want to represent shapes that are not made of straight lines.
Basic Geometrical Ideas Class 6 Questions and Answers
Q1. How many radii can a circle have?
A: Infinite
Q2. What is the minimum number of points needed to draw a circle?
A: One (the center)
Q3. How many diameters can be drawn in a circle?
A: Infinite
Q4. What is the length of the diameter if the radius is 4 cm?
A: 8 cm
Q5. How many sides does a circle have?
A: Zero
Make Maths Simple and Fun for Your Child with CuriousJr’s Online Tuition
Is your child in Class 6 struggling with maths at school? At this stage, students are introduced to new and important topics like basic geometrical ideas, integers, fractions, decimals, and data handling.
These concepts form the foundation for higher classes, but many children find them confusing when they cannot ask questions freely or revise at their own pace in school.
Curious Junior online tuition kids is here to make learning easier, clearer, and more enjoyable for students. Here what makes our classes apart:
-
Concepts are taught using simple methods that help students understand complex topics easily.
-
The two-teacher model allows one teacher to teach while the second supports doubt-solving
-
Homework support ensures your child can handle difficult questions confidently
-
Weekly PTMs and progress reports keep you informed of your child’s growth
-
Courses follow the CBSE, ICSE, and State Board syllabus to match what is taught in school
-
Dedicated mentors guide students step by step so they do not feel left behind.
Basic Geometrical Ideas FAQs
What is the meaning of basic geometrical ideas?
How are basic geometrical ideas used in real life?
What is the difference between an open and a closed curve?
What is the difference between a curve and a straight line?